|

|
|
|
|
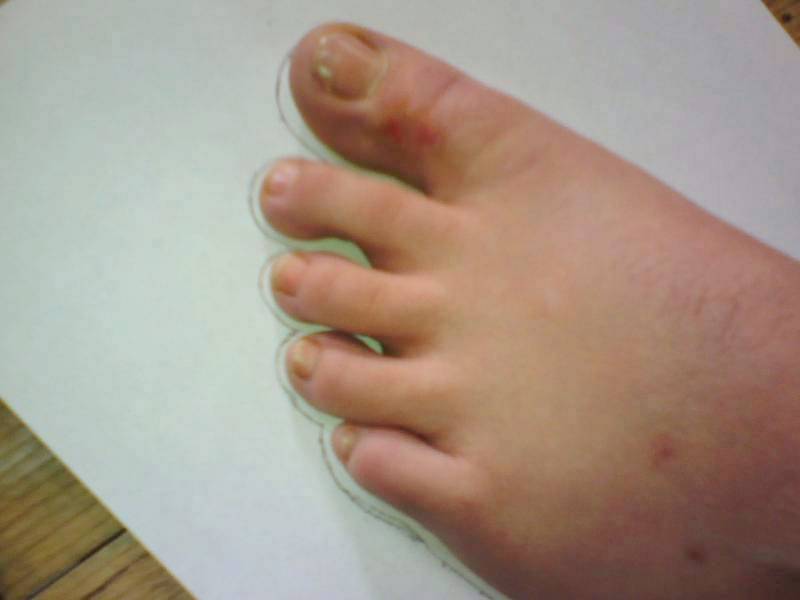
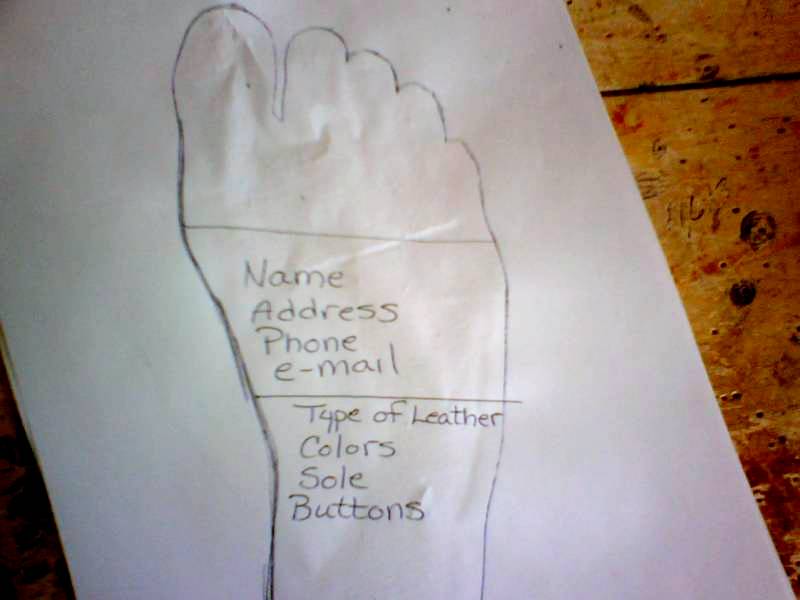
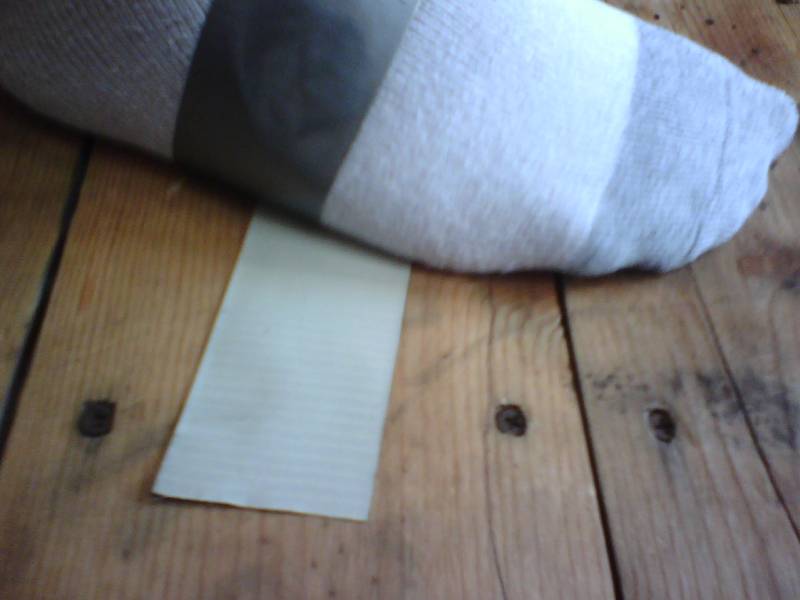
1. The tracings should appear 1/8th inch larger than the feet.
|
2. Hold the pen vertical while tracing.
|
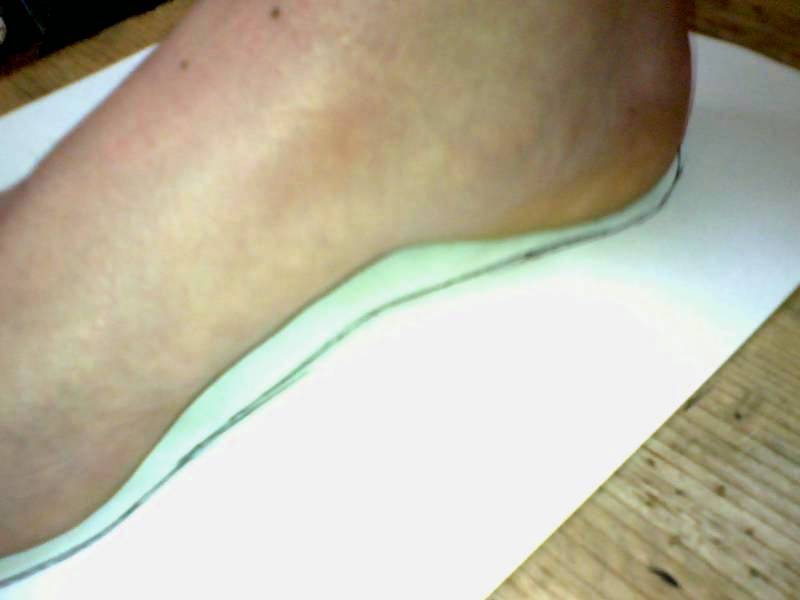
3. It is important to go into the arch area.
|
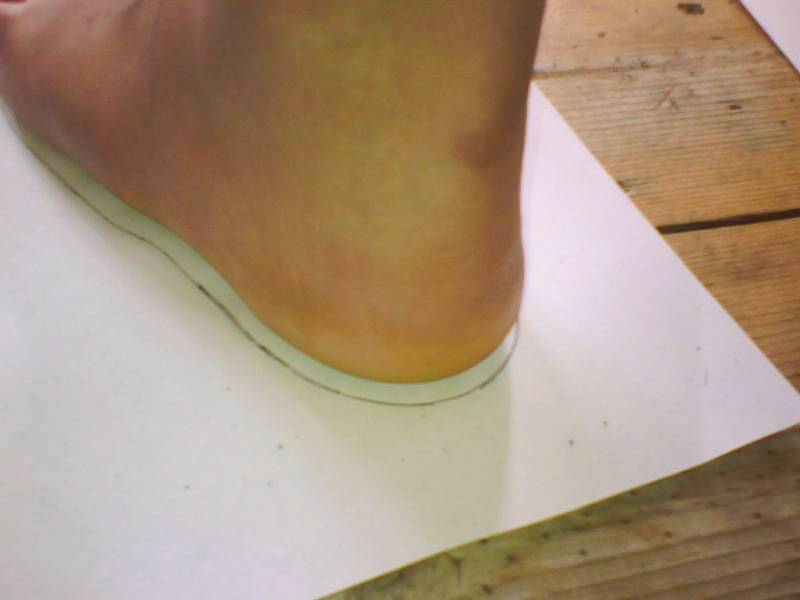
4. We need to see where the heel will ride in the shoes.
|
|
|
|
|
|
5. Please include the information detailed above.
|
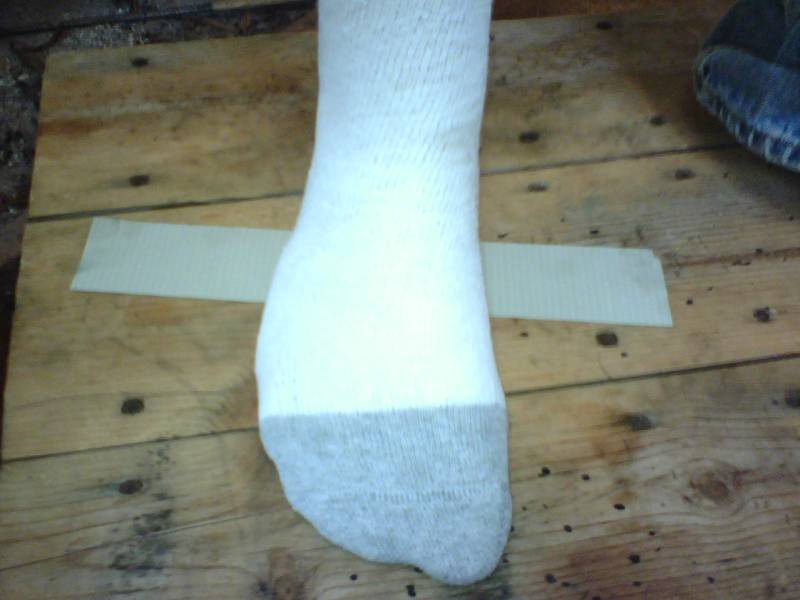
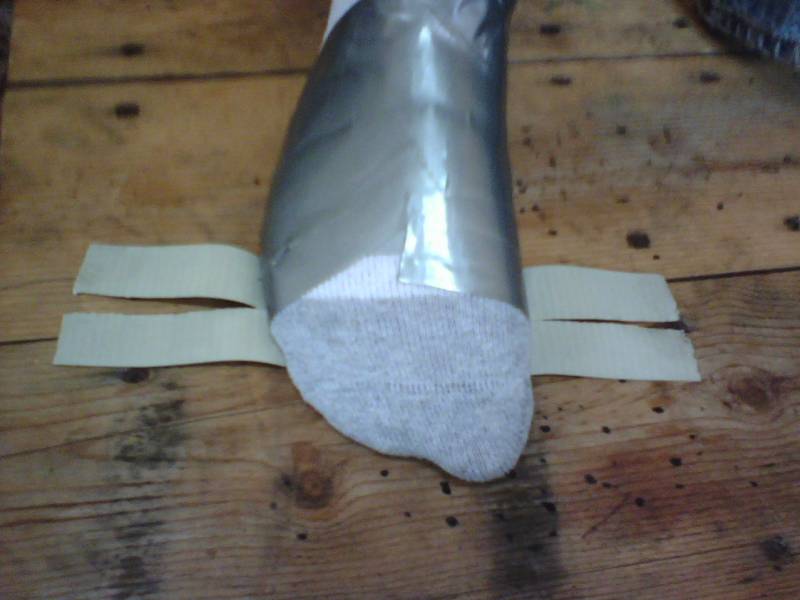
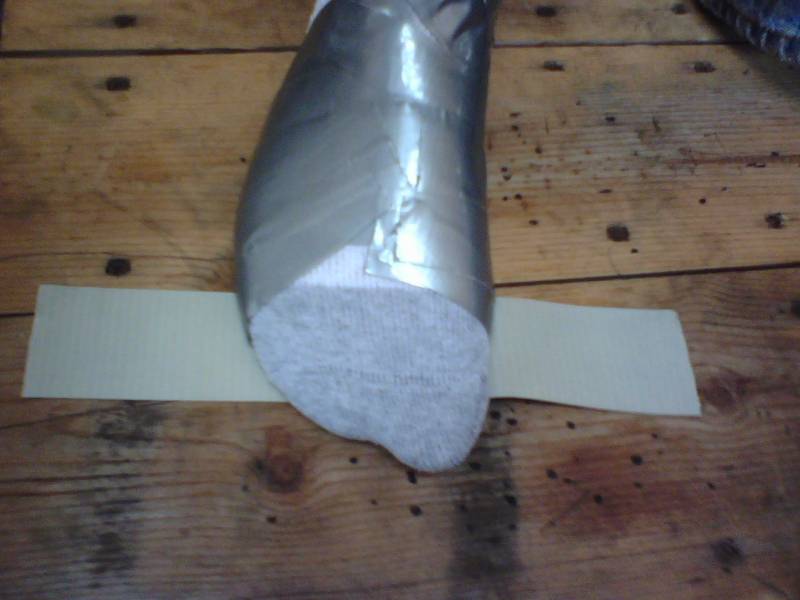
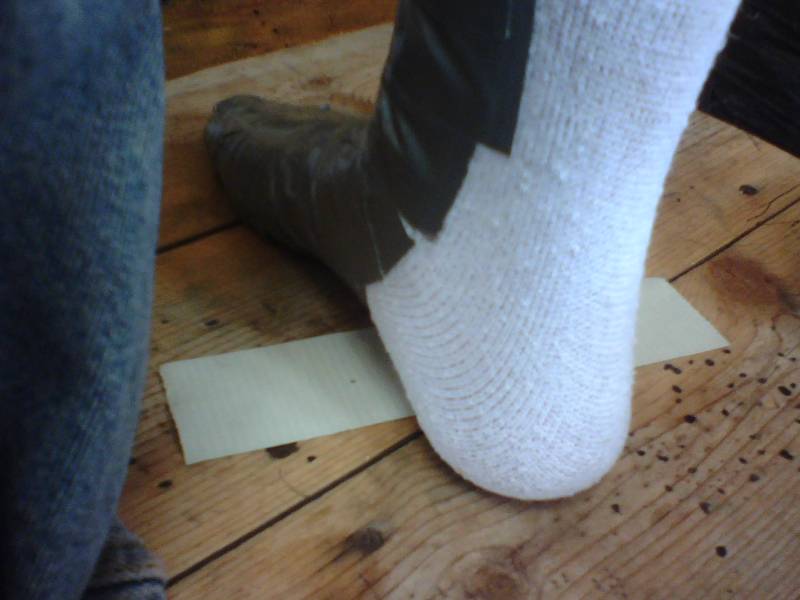
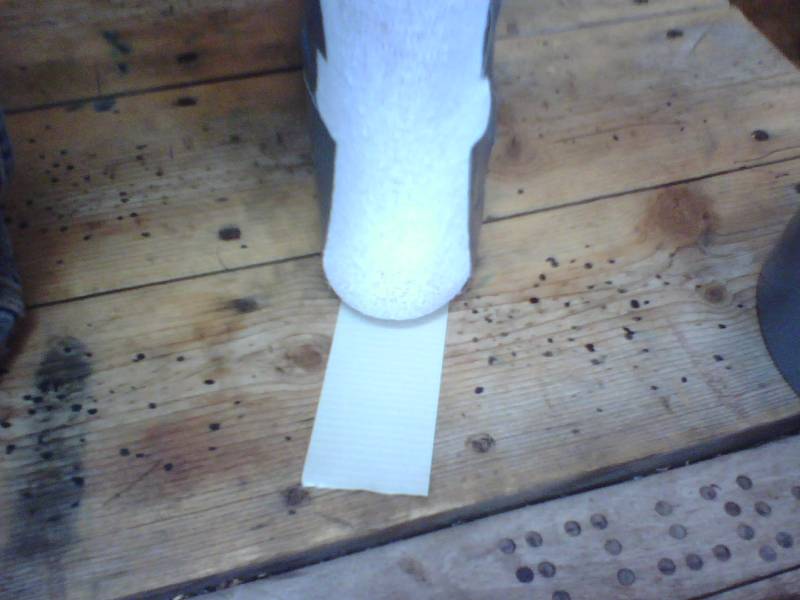
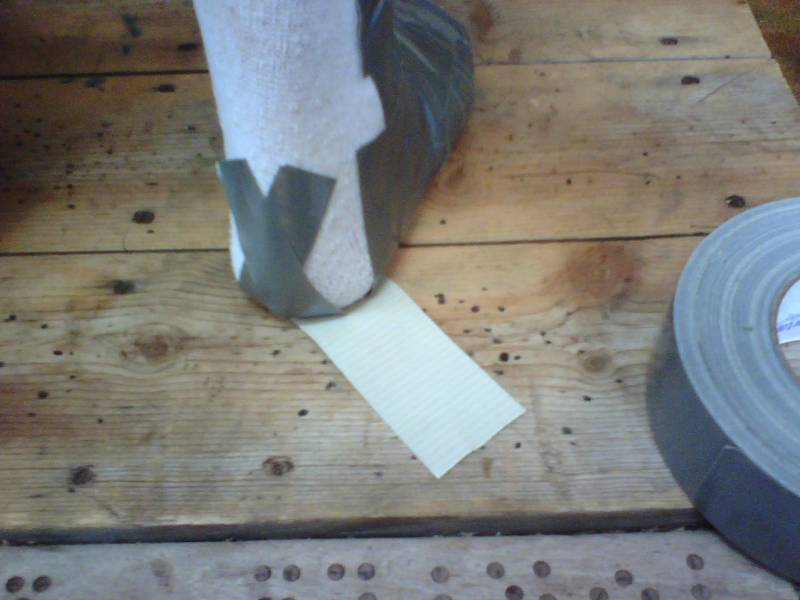
6. Start the taping in the middle of the arch under the foot.
|
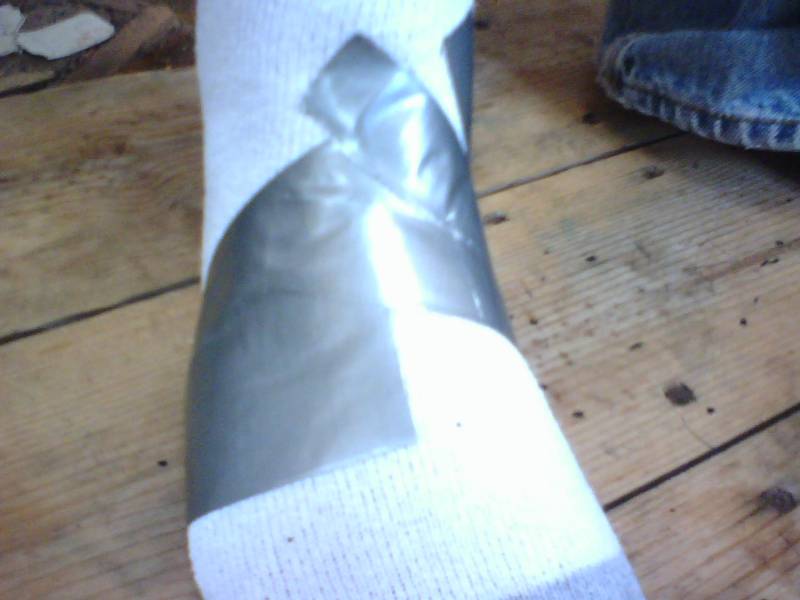
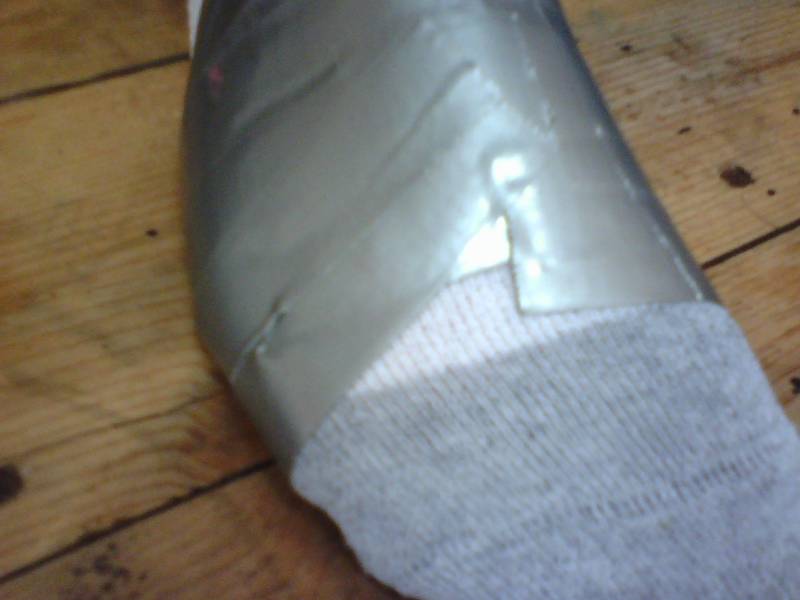
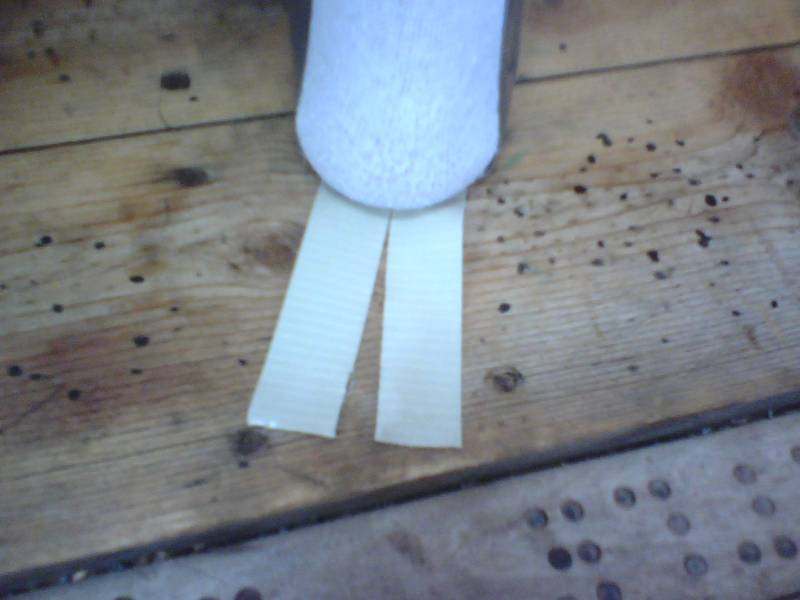
7. Tear the tape ends so that they will lay flat on the foot.
|
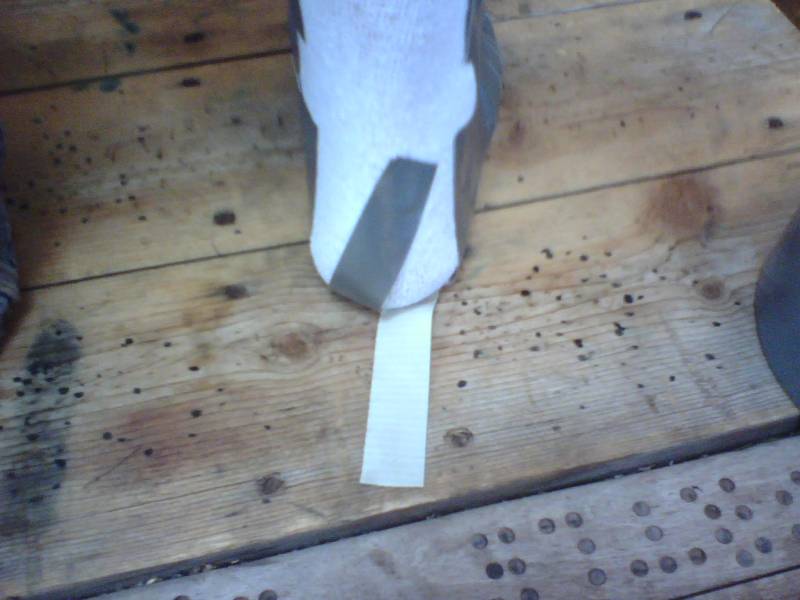
8. Overlap the next section toward the front of the foot.
|

|
|
|

|
|
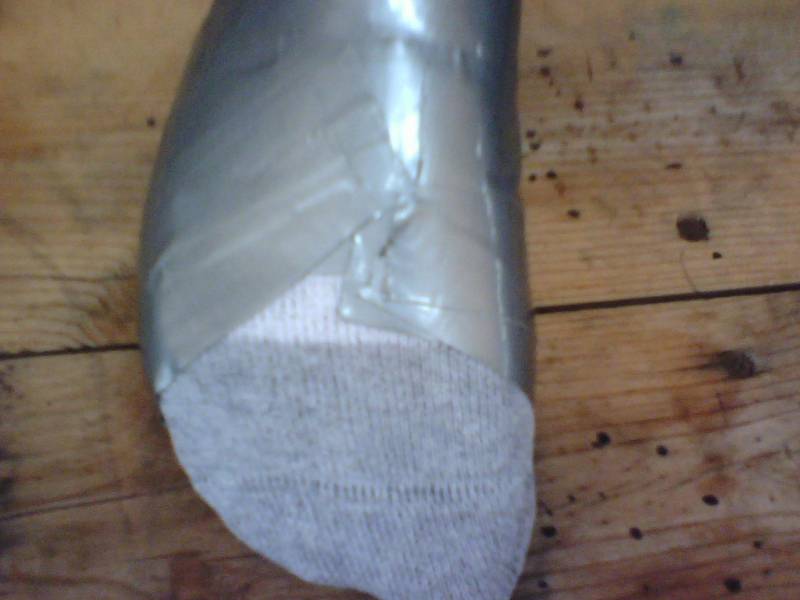
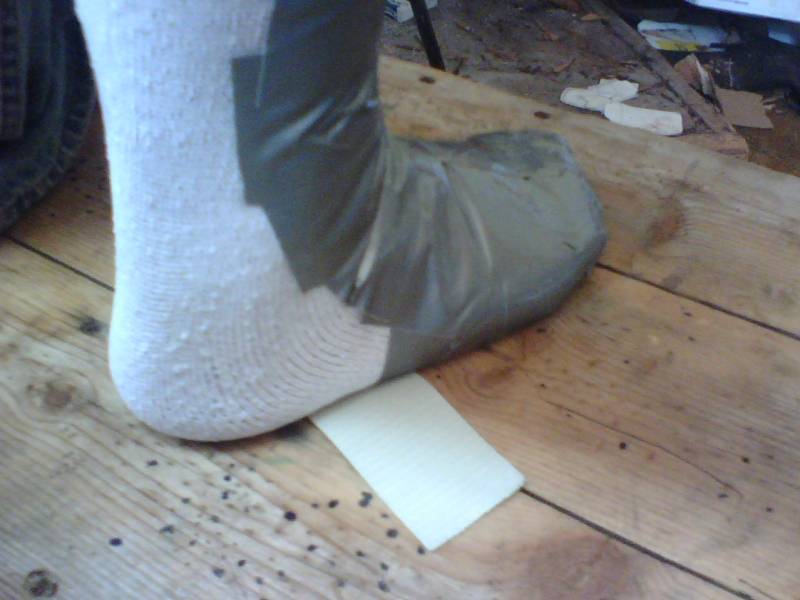
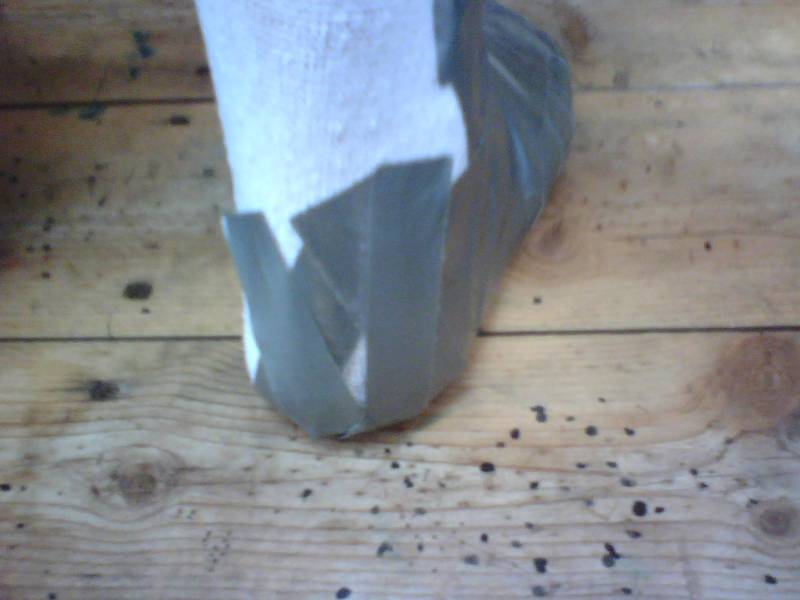
9. Use a piece long enough to wrap to the top from each side.
|
10. Make sure it overlaps half the tape width.
|
11. Again, make sure it conforms to the foot.
|
12. Continue with another section toward front.
|
|
|
|
|
|
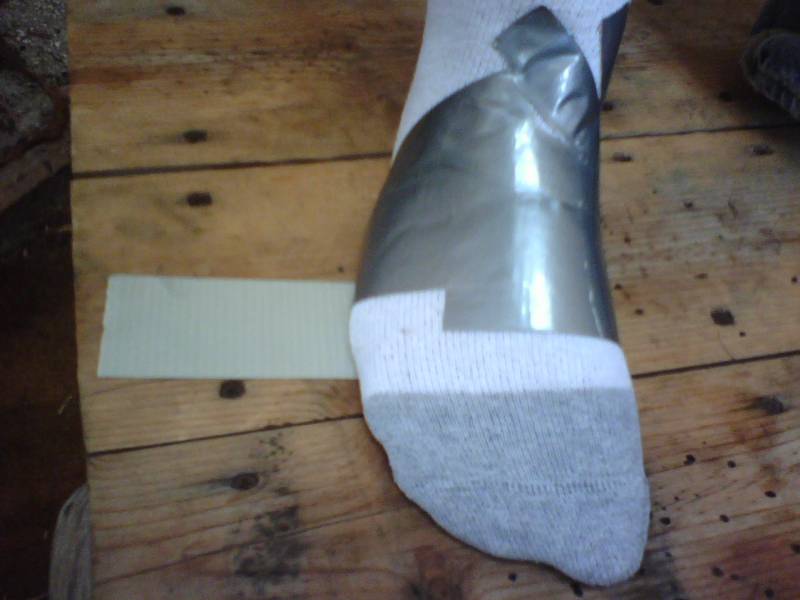
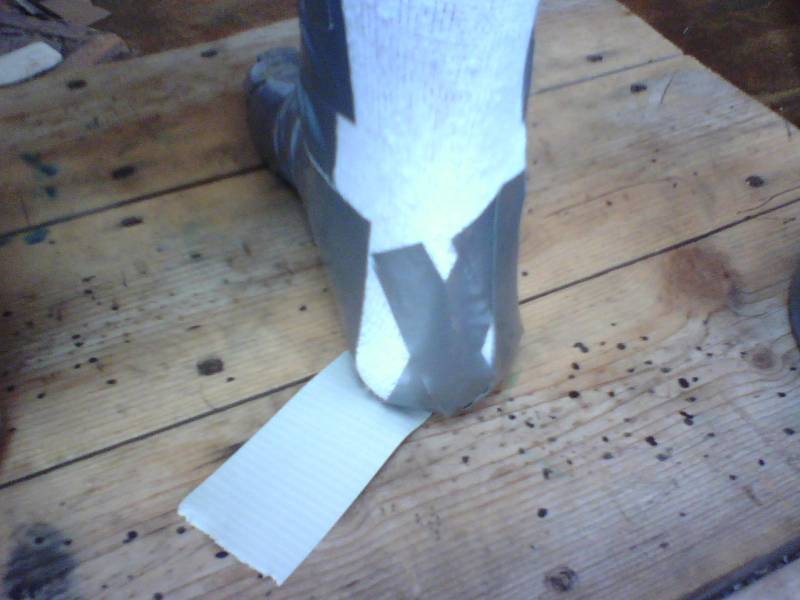
13. Not too tight, but conforming to the foot.
|
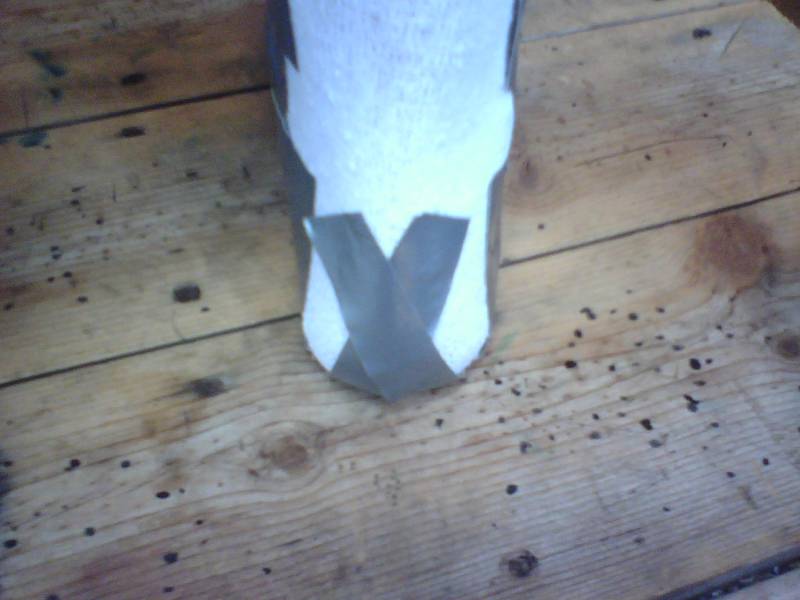
14. At the ball and pinkie area you will ...
|
15. ... have to do more tearing of the tape ...
|
16. ... so it conforms better to the foot.
|
|
|
|
|
|
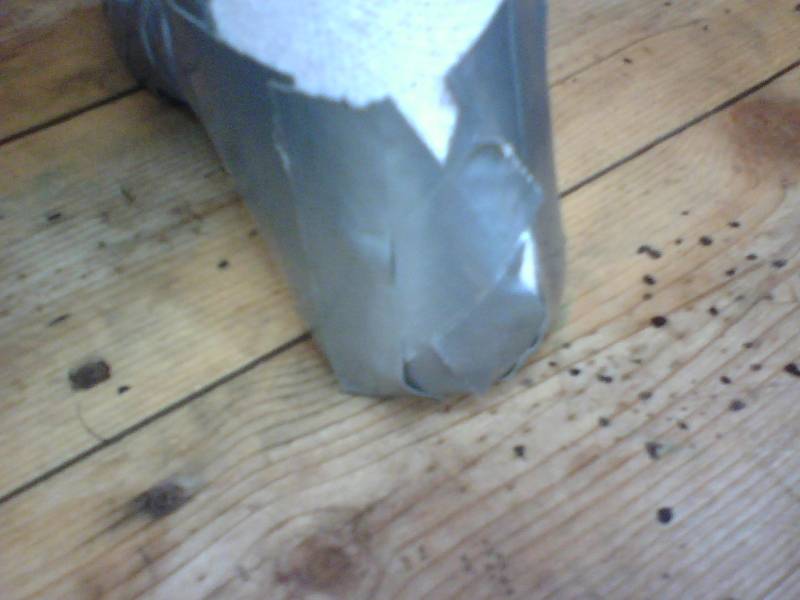
17. Continue ...
|
18. ... wrapping ...
|
19. ... the ball & ...
|
20. small toe area.
|
|
|
|
|
|
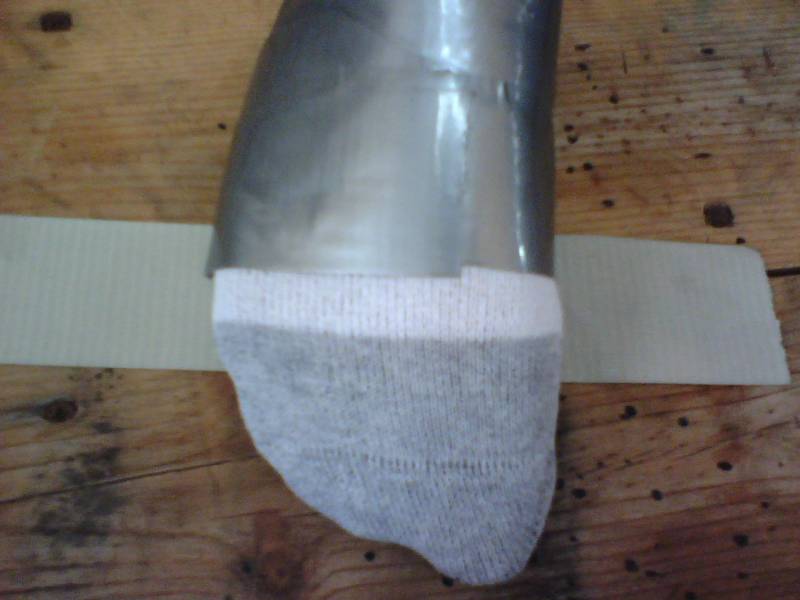
21. Each section in this area will need ...
|
22. ... to have the tape ends ...
|
23. ... torn and wrapped up ...
|
24. ... toward the top of the foot.
|

|
|

|
|
|
25. When you reach the middle & big toe area ...
|
26. ... use smaller lengths of tape with the ends torn ...
|
27. ... wrapping from the middle of the sole, over the toes ...
|
28. ... up to the top of the foot.
|
|
|
|
|
|
29. At the big toe you will have to rip ...
|
30. ... the tape in 3rds to get it to lay flat.
|
31. Check to see if there is any sock showing. If so, add more tape ...
|
32. ... you can't use too much, as long ...
|

|
|
|
|
|
33. ... as the wrapping is not too tight.
|
34. Keep adding tape until ...
|
35. ... the toes are thoroughly encased.
|
36. After the toes are encased you will lay ...
|
|

|
|
|
|
37. ... 2 pieces of tape over the length of the toes and instep.
|
38. This is to stop tape stretchage during patterning.
|
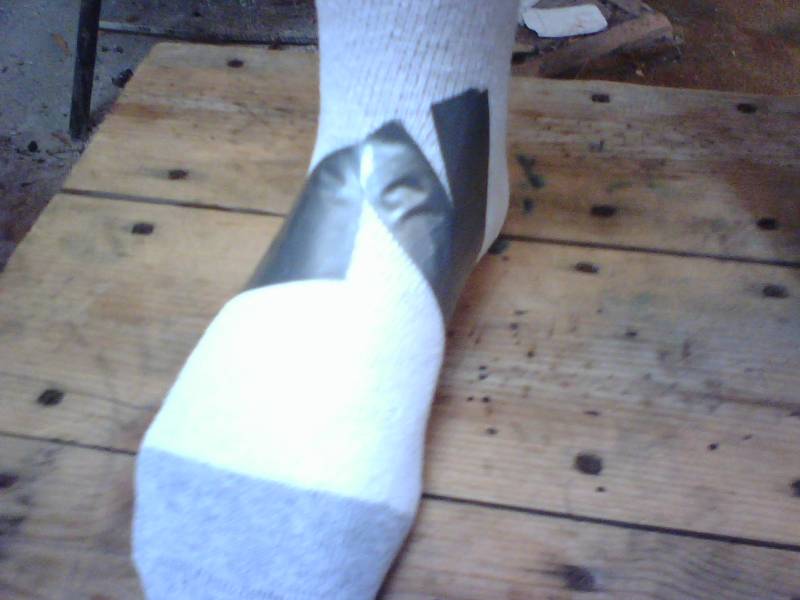
39. Then tape over the instep (top of foot, to bottom of ankle).
|
40. To finish the instep you will have to tear the tape in half.
|
|
|

|

|
|
41. Do this twice to be sure there is no sock showing.
|
42. Now you can start working your way up the front of the leg.
|
43. Each tape section should wrap more than half way around the leg.
|
44. Tape to desired height of the boot (i.e., for knee highs go above the calf).
|
|
|

|
|
|
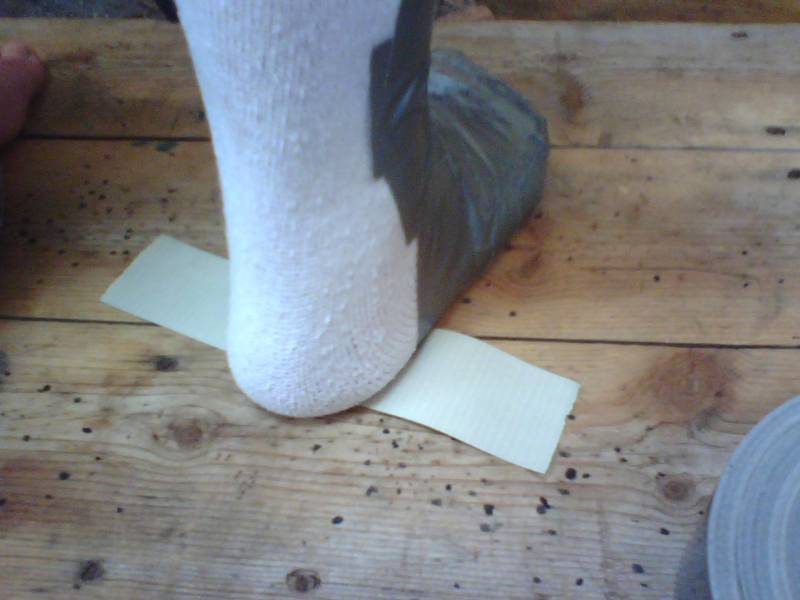
45. You will then start the heel of the fitting in the arch area.
|
46. Again, overlapping by half width of tape, toward the heel ...
|
47. ... and forming it to the foot.
|
48. Continue wrapping with overlapping ...
|
|
|
|
|
|
49. ... sections, back toward the heel.
|
50. When you reach the back of the heel, start in the center ...
|
51. ... & again, using smaller lengths of tape with the ends torn ...
|
52. ... wrap from the middle of the heel bottom ...
|
|
|

|
|
|
53. ... over the heel, crisscrossing tape ends as necessary.
|
54. Alternate from right of heel ...
|
55. ... wrapping, with torn ends ...
|
56. ... as before ...
|
|

|
|

|
|
57. ... to left of heel ...
|
58. ... back & forth ...
|
59. ... until entire heel is encased.
|
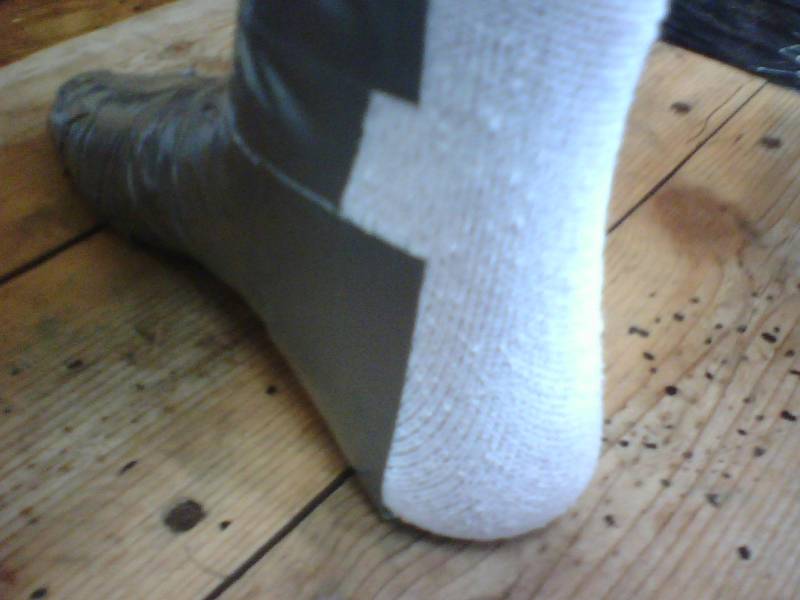
60. Then add a horizontal piece ...
|
|
|
|

|
|
61. ... keeping it close to the fitting surface ...
|
62. ... covering any showing sock.
|
63. Add another section above, overlapping again.
|
64. ... entirely encasing the heel again.
|
|
|
|
|
|
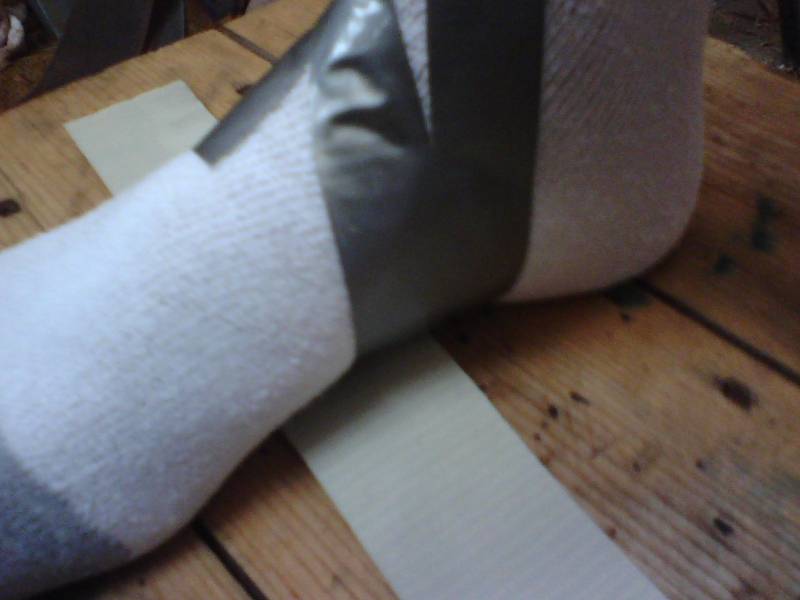
65. Continue working up the back of the leg, wrapping ...
|
66. ... each section more than half way around the leg,
to top of boot.
|
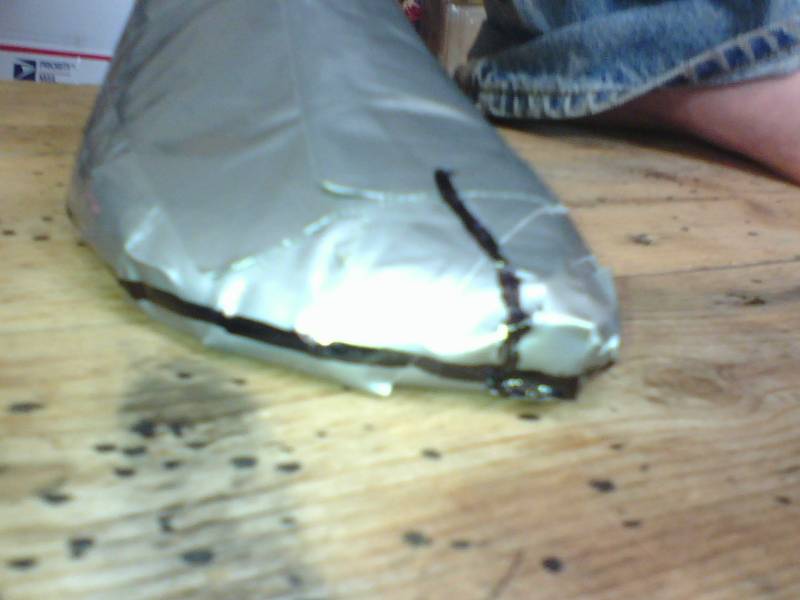
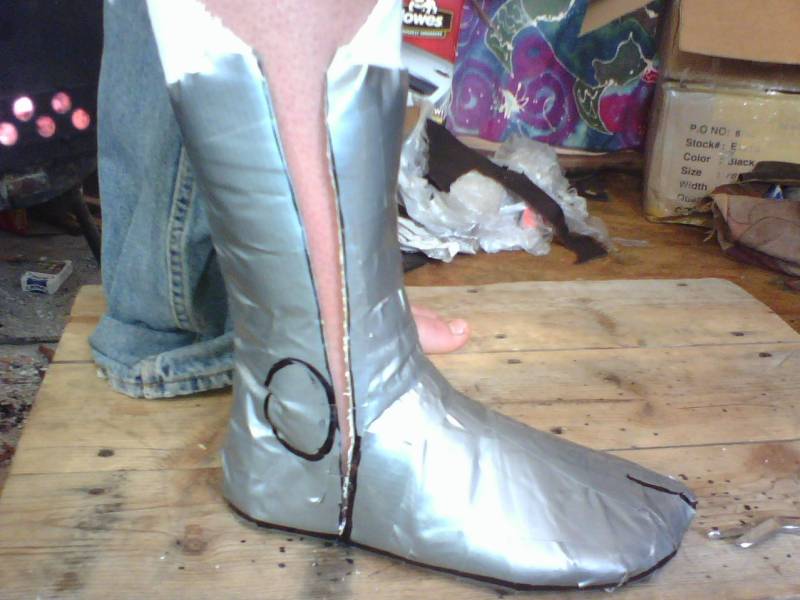
67. You will then mark the Achilles tendon and the center of the back of the leg.
|
68. Starting at the heel, draw a line around the foot, keeping the wedge of the ...
|
|
|
|
|
|
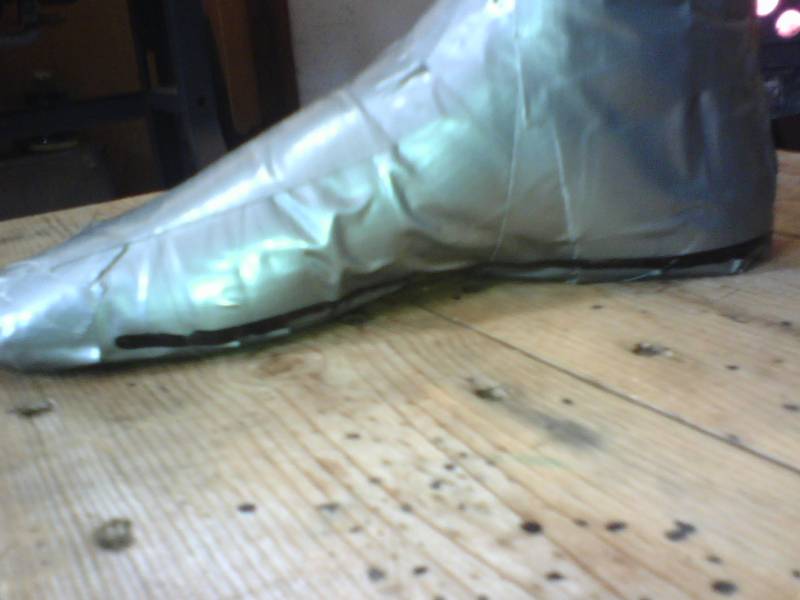
69. ... marker parallel to the fitting surface, creating a 1/4in. thick line defining bottom of foot.
|
70. Push the marker into the arch area, keeping it close to fitting surface.
|
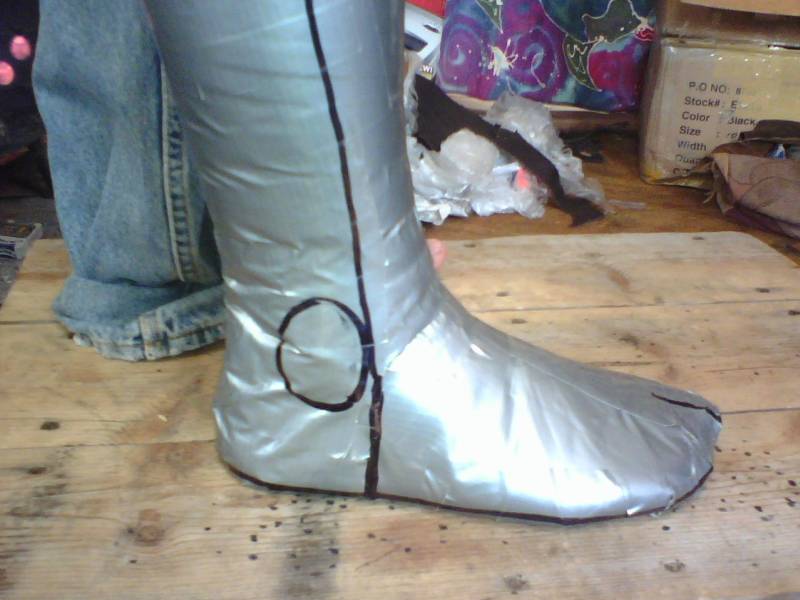
71. Then mark the area between the big toe and the second digit.
|
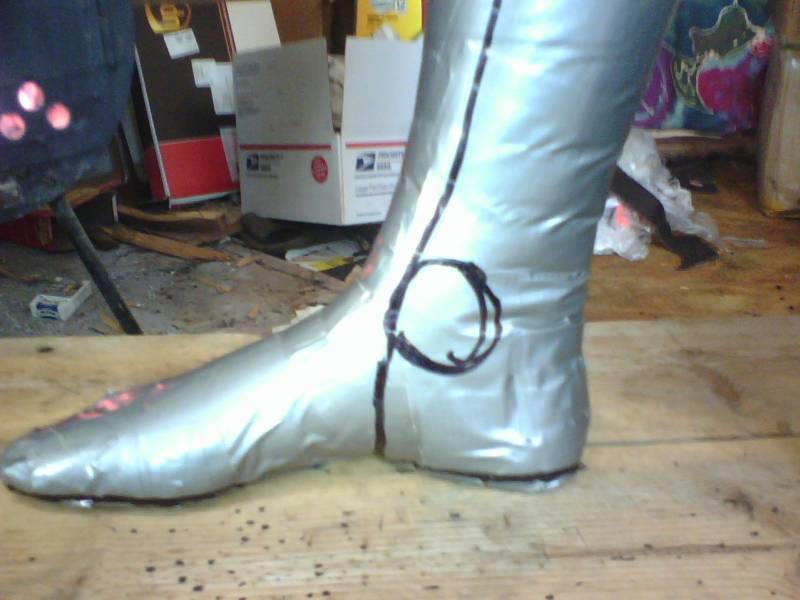
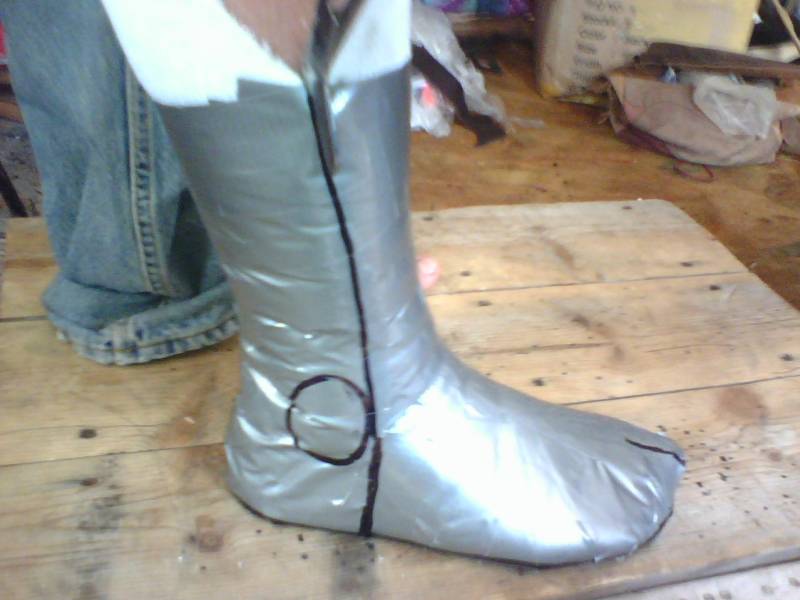
72. Mark outer perimeter of ankle bones with circles & draw ...
|
|
|
|
|
|
73. ... line up the leg for the seam, doing the same for side where boots will close.
|
74. Then starting at top, cut the fitting down the outer seam ...
|
75. ... to the foot line, to be able to take the fitting off.
|

|
76. Send the completed tracings & foot wrappings to Turtle Island with your 50% deposit.